BL Banking is a portable application, which can be installed in various ways. In a network installation multiple users can access the same data within the application. Furthermore users can start the program from any computer in the network, without having the software installed on each individual computer.
If you have installed BL Banking already — e.g. the evaluation version as a single-user installation, you can reuse it by moving the program directory to a network drive (e.g. from C:\blbanking to X:\blbanking). Then a reinstallation and subsequent first initialization is not required.
Otherwise, the network installation of BL Banking is carried out like the single-user installation. The latter is described in the guide Installation in section Installation. Thereby a network drive, e.g. X:\blbanking is specified as the destination directory.
The first initialization to be conducted subsequently does not differ from the single-user installation. If you want to use further bank connections, configure them now.
Now create a shortcut to the program file BL Banking.exe on each computer, from which BL Banking should be started. You can find more information about this in the appendix under Questions and answers.
The program is now set up for one user and can be started from any computer in the network.
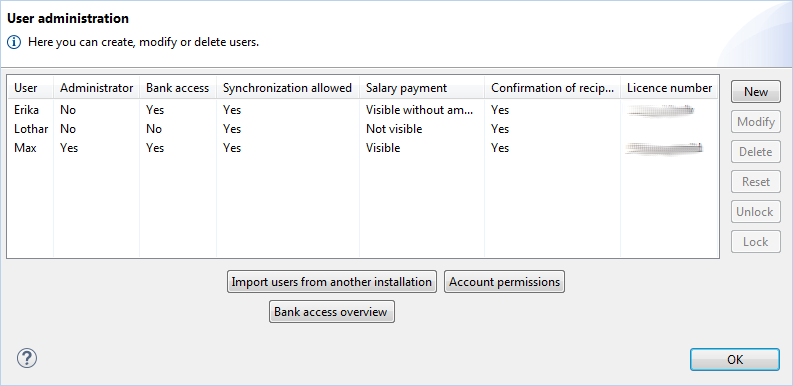
To add additional users in BL Banking, choose User administration from the Edit menu. Then a window opens with a list of all users who are registered in your BL Banking installation.
Now click on the New button. The Add user window will appear. Enter a username and a temporary password for the new user and click on Finish. This returns you to the User administration window, which now shows the new user in the list.
As it is the case for a new BL Banking installation, new users must also be initialized after having been added. Besides a separate license, each user needs his own bank access (user ID) that is in status New or Reset. For this purpose please contact your bank.
To initialize, exit BL Banking and restart the program. Then choose the new user in the login window and enter the temporary password, which you have assigned when creating the user.
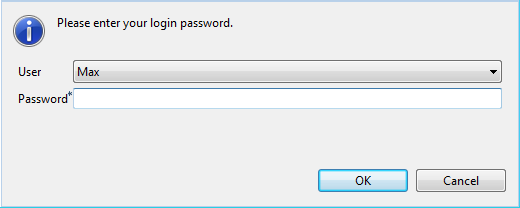
Thereupon the wizard appears that is described in the guide Installation, section First initialization. There enter the license number and in the second window of the wizard the password. This is the password that the user needs to log on to the program and to sign orders. This password can be changed later by the new user.
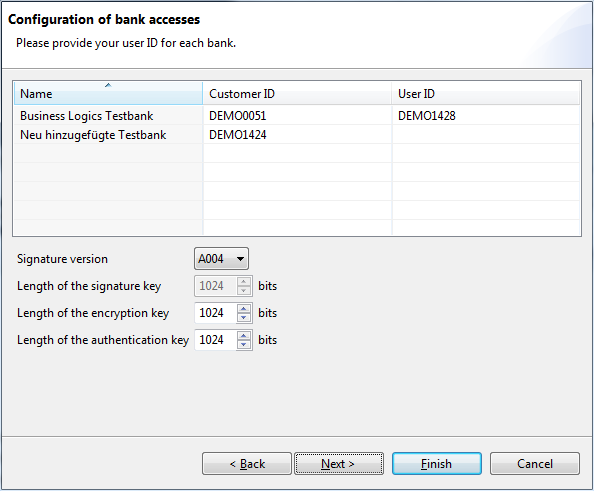
After that a different window appears, as it is the case for the first initialization. Here you see all bank connections that you have created before. For each bank enter the user identifier in the column User ID. You have received the user IDs from your banks.
In the next window of the wizard you can enter the directory for your keys. This step also corresponds to the first initialization. Click on Finish to close the wizard. Then for each configured bank an initialization letter is displayed as a PDF file. Please sign the initialization letters and send them to the bank.
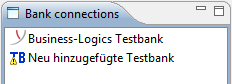
The new user can now log on as described above. As long as the bank has not yet activated the connection configured before, it is marked with a yellow symbol with an exclamation mark.
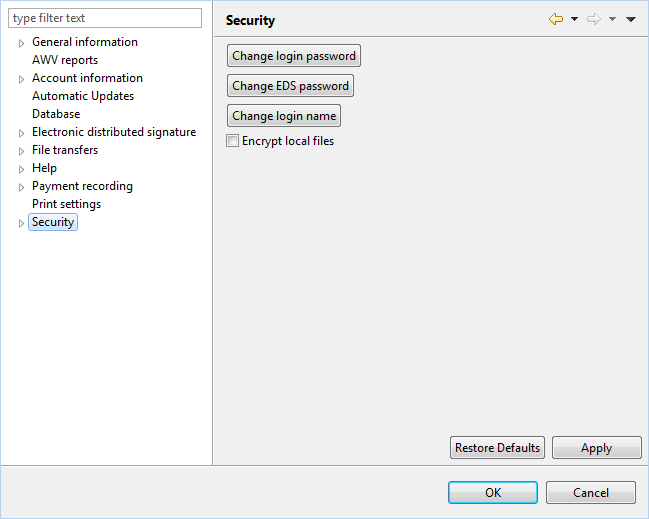
BL Banking is now ready for the new user. The password assigned during the initialization can be changed via the preferences.
Also in a network installation you can create separate data folders for each user. Then BL Banking behaves like in the single-user installation, but doesn't have to be set up on each workstation. For this purpose install the program as described above or move an existing installation to a network drive.
By default the data of BL Banking are located in the directory workspace below the program folder (e.g. X:\blbanking). However with an entry in the configuration file BL Banking.ini you can move the workspace directory to another storage location. If the file already exists, it is located directly in the program folder, too. Otherwise create the file with a text editor and enter the line
-vmargs
in it. Below that add an instruction on a new line with the path to the workspace directory , e.g. U:\blbanking.
-Dosgi.instance.area=U:\blbanking\workspace
Instead of a fixed path you can also use the variable @user.home, which will point to the home directory of the local workstation.
-Dosgi.instance.area=@user.home\blbanking\workspace
Instead of the entry in the configuration file you can also specify the path with the parameter -data in the shortcut to the program file, e.g.
"X:\blbanking\BL Banking.exe" -data U:\blbanking\workspace
Furthermore BL Banking uses a temporary directory that by default is located below the workspace folder. This directory can also be relocated to another storage location by changing an entry in the file BL Banking.ini. For this purpose add a new line at the end, e.g.
-Dde.businesslogics.tmpdir=T:\blbanking\workspace\tmp
For this line the variable @user.home cannot be used.
General - First initialization
General - Installation - Installation scenarios